A floor can look fine from the doorway and still fight you at every step. Tile lippage, hollow spots under plank, puddles in a garage, and uneven gloss under coatings usually trace back to one issue: concrete floor leveling.
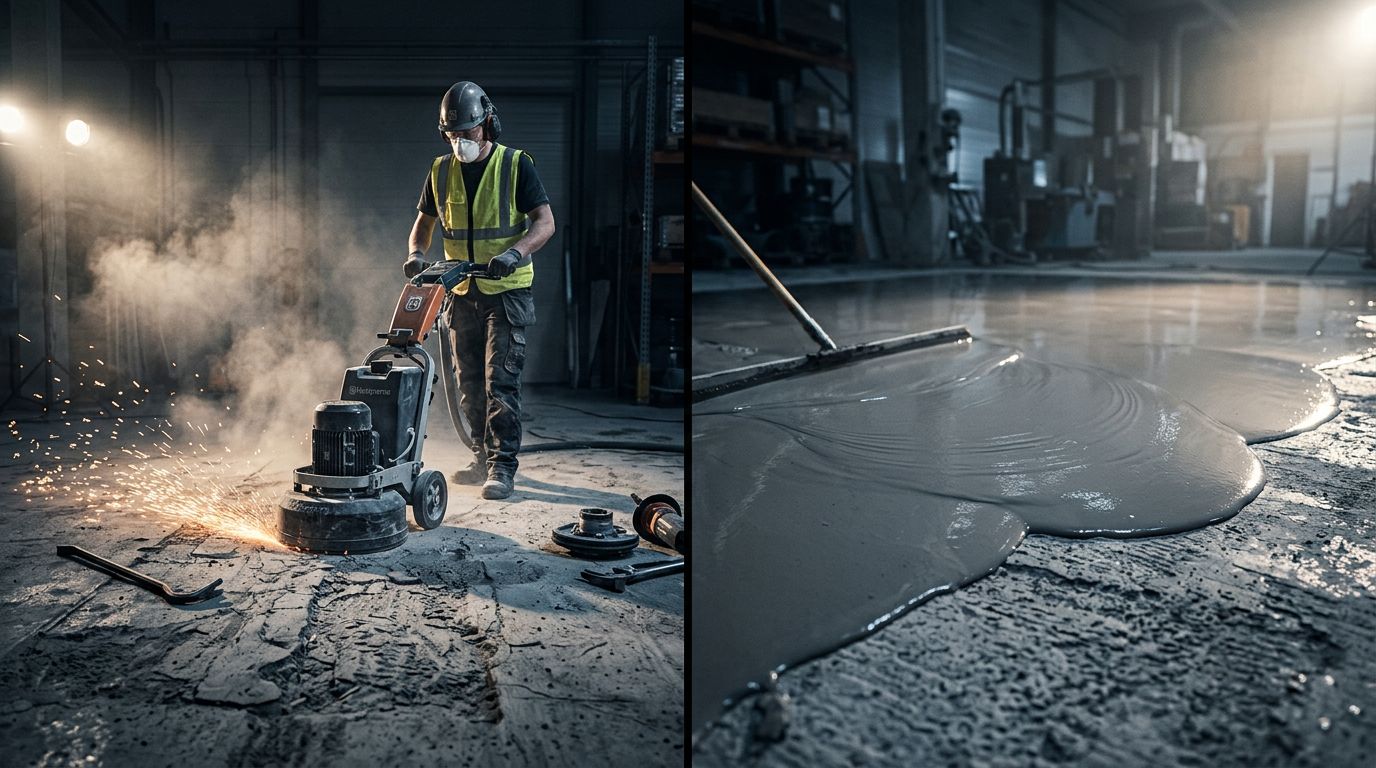
If you’re comparing self-leveling underlayment with grinding, the main choice is simple. One method fills low areas, and the other cuts down high spots. The better option depends on the slab, the finish floor, and how much height you can add.
What each method fixes, and what it doesn’t
These methods solve different problems. Self-leveling underlayment is an additive fix. Grinding is a subtractive fix. That sounds basic, but it changes the whole project.
Self-leveling underlayment fills the lows
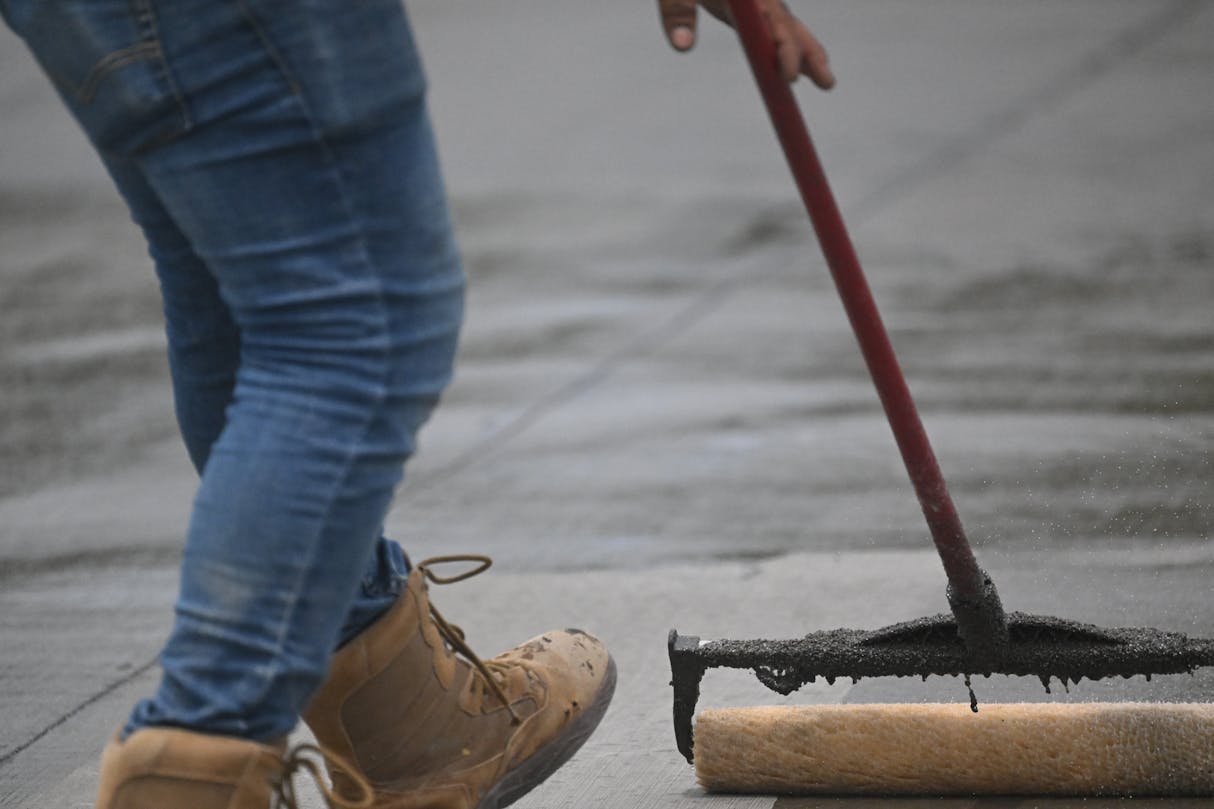
A self-leveling underlayment is a cement-based product that flows across the slab and settles into dips. It’s often the better fit when the floor has broad low spots, shallow waves, or birdbaths that would take forever to grind out. It’s also common under tile, LVP, carpet tile, and wood, because those finishes need a flatter base than many people expect.
Still, underlayment isn’t magic. It needs primer, correct water ratio, and fast placement. It also adds height, which can affect doors, baseboards, transitions, drains, and appliance clearance. For a practical overview of patches, primers, and overlays, Concrete Network’s guide to leveling concrete floors is useful.
Grinding removes the highs
Grinding shaves down peaks, ridges, curled joints, and old surface contamination. It’s usually faster when the floor is mostly flat but has isolated high spots. That’s why grinding often makes sense before tile, before an epoxy coating for concrete, or before a thin skim coat.
Grinding has limits too. It can’t raise a low area, and aggressive grinding can expose aggregate or leave visible texture. That matters if the slab will stay exposed for concrete polishing or concrete staining. It also matters if you want a clean-looking floor under a thin concrete epoxy coating or clear sealer. As DIYTileGuy’s self-leveling underlayment explainer points out, grinding is often part of prep before a pour, not always a replacement for it.
Prep work and moisture decide whether the repair lasts
Most failures start before the material goes down. Dust, paint, curing compounds, adhesive residue, oil, and weak surface paste can break bond. Moisture can do even more damage, especially in garages, basements, and fast-track commercial spaces.
The floor you see is only half the job. Moisture and bond conditions below the surface decide whether leveling lasts.
Before any pour or coating, get accurate concrete slab moisture checks. That matters for underlayment, for a basement concrete coating, and for any commercial concrete epoxy coating. A garage floor epoxy coating company should be able to explain the test method, the reading, and the product limits.
Surface prep also changes with the final finish. Underlayment usually needs a clean, profiled slab and the right primer. Resin systems need profile too, but the profile depth can differ. Comparing shot blasting and grinding methods helps show why a coating bonds to texture, not to guesswork. The same idea applies whether you’re planning a concrete epoxy coating, a polyaspartic coating, or a simple epoxy coating for garage floor use.
Timeline matters as well. Grinding isolated highs can move fast, and you can often keep the project moving the same day. Self-leveling underlayment adds priming, mixing, pour time, and cure time. Some products are walkable in hours, while others need more time before flooring or coating. Manufacturer instructions matter here. So do temperature, humidity, and batch control.
A practical way to choose between underlayment and grinding
If the slab has widespread dips, self-leveling underlayment usually wins. If the slab is mostly sound and the main issue is high spots, grinding often costs less and moves faster. Some jobs need both.
This quick comparison helps frame the choice:
| Method | Best use | Main upside | Main drawback |
|---|---|---|---|
| Self-leveling underlayment | Broad low areas, wavy floors, flooring installs | Creates a flatter plane across larger sections | Adds height and needs cure time |
| Grinding | High spots, curled joints, thin surface removal | Fast for spot correction and prep | Can’t fill dips |
Budget depends on labor, square footage, depth of correction, access, dust control, moisture issues, and the finish floor. A thin epoxy coating for garage floor traffic may only need minor correction. Large-format tile or sheet goods usually demand tighter flatness. If the slab has movement, settlement, or recurring cracks, surface-level concrete dealing won’t solve the root cause.
Finish type should guide the call. Under tile, LVP, carpet, and wood, flatter usually matters more than appearance during prep, so underlayment often makes sense. For exposed concrete polishing or concrete staining, grinding is usually the better path because the slab itself becomes the finish. For a coating system, the choice depends on film thickness and appearance goals. A thin epoxy coating for concrete will telegraph dips and ridges. Thicker systems can hide more, but they still don’t fix a badly out-of-flat slab. If you’re weighing resin options, these concrete epoxy coating basics give helpful context for why prep matters so much.
Final thoughts
The best concrete floor leveling method depends on what the slab is doing today, not what you hope it will do after flooring goes down. Fill lows with underlayment, cut highs with grinding, and combine them when the floor calls for both.
A flat floor makes every finish look better and last longer. Moisture testing, surface prep, and product instructions are what turn that plan into a floor that performs.