The Garage Floor Prep Checklist
The questions that expose a bad prep job before it’s under your coating — plus what to do if a DIY kit already failed on your floor.
One email with the PDF. No spam, unsubscribe anytime.
Garage Epoxy, Polyaspartic & Concrete Coating — Atlanta Metro
A coating that won’t peel, because we never skip the grind.
Atlanta-metro concrete coating specialist. Real diamond-grind prep, epoxy and polyaspartic systems, and a written estimate before anything gets scheduled.
Who This Is For
You already know what’s wrong with your garage floor.
You tried the DIY kit, and it peeled anyway
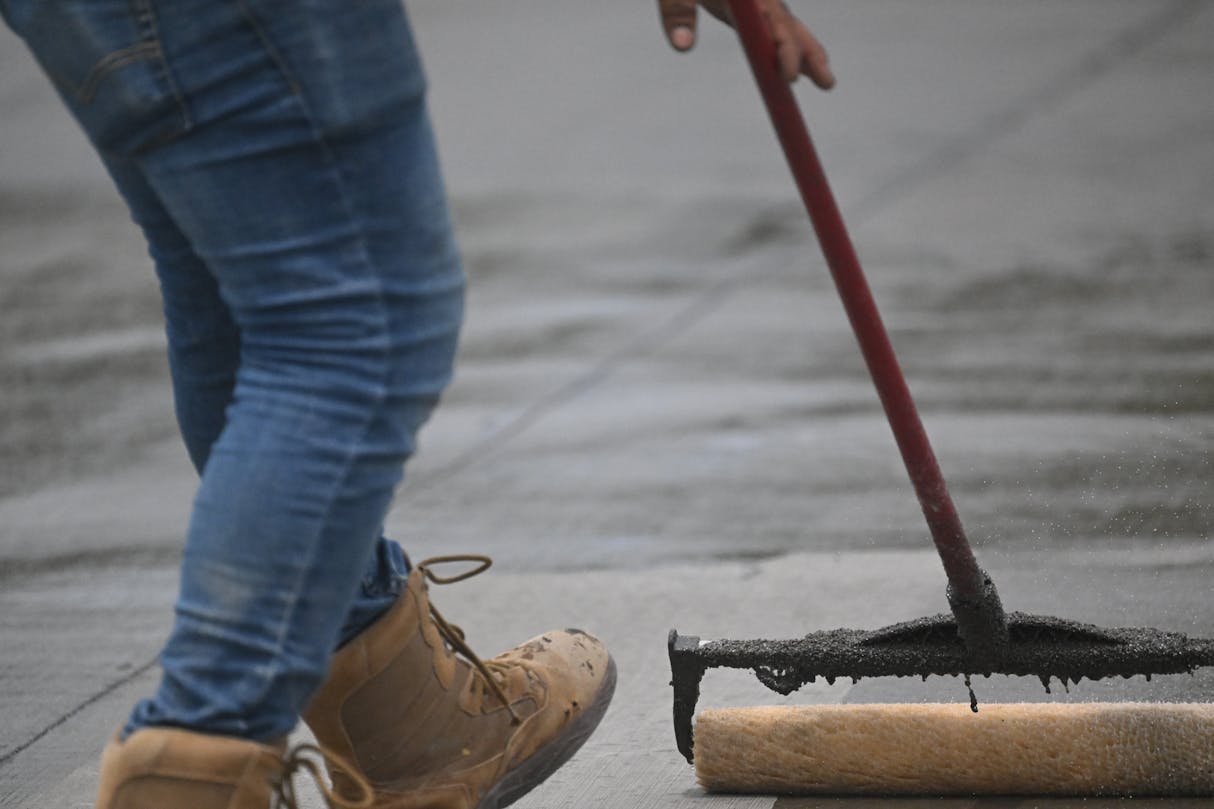
Maybe it started lifting under your tires within a few months, or it never fully cured because two parts of the kit got mixed wrong, or years in it’s stained in a way no amount of scrubbing fixes. You’re not looking to buy another kit or hear another vague promise — you want to know, specifically, what proper prep looks like, so you can watch it happen instead of taking our word for it. We start every repair the same way we start every new install: grinding the failed coating and the weak layer underneath it off down to structural concrete, then pricing the fix as its own job, not a bandage on the same problem.
You want the garage your neighbors ask about
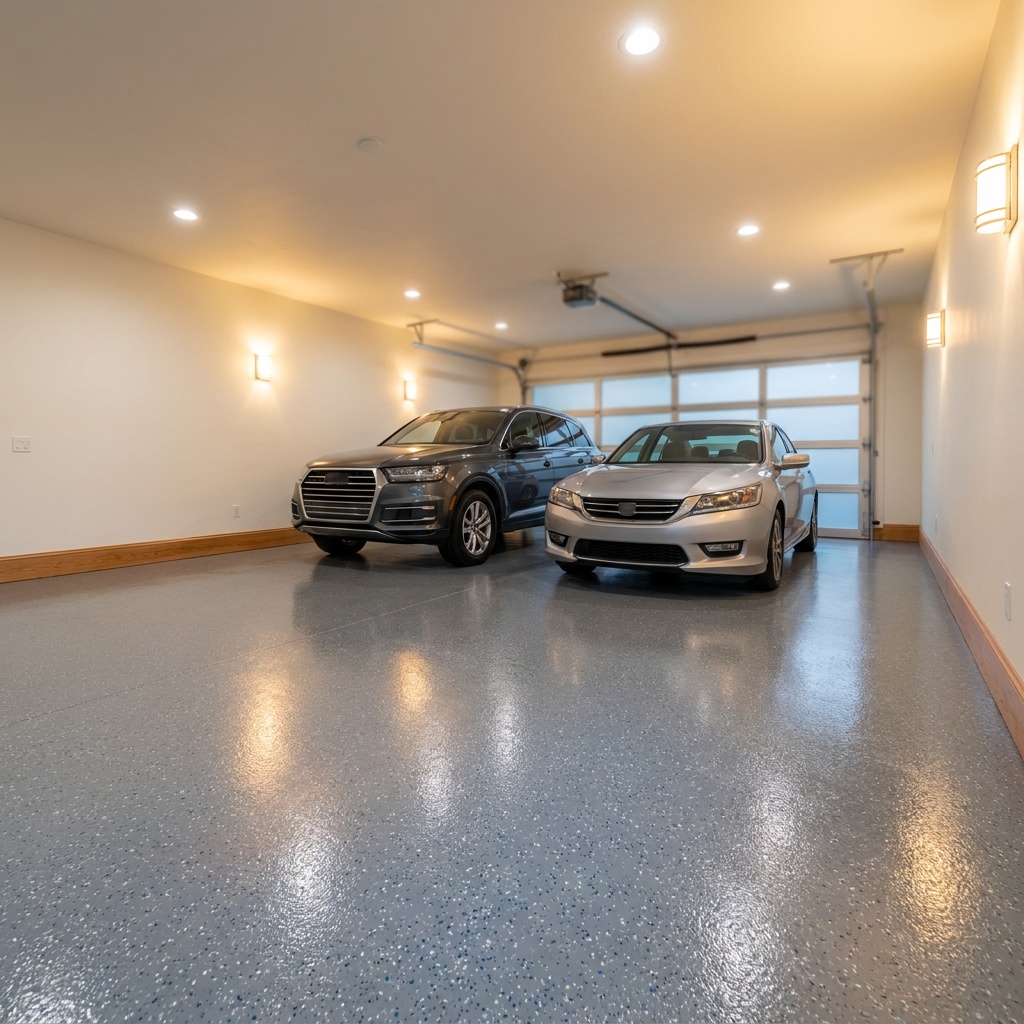
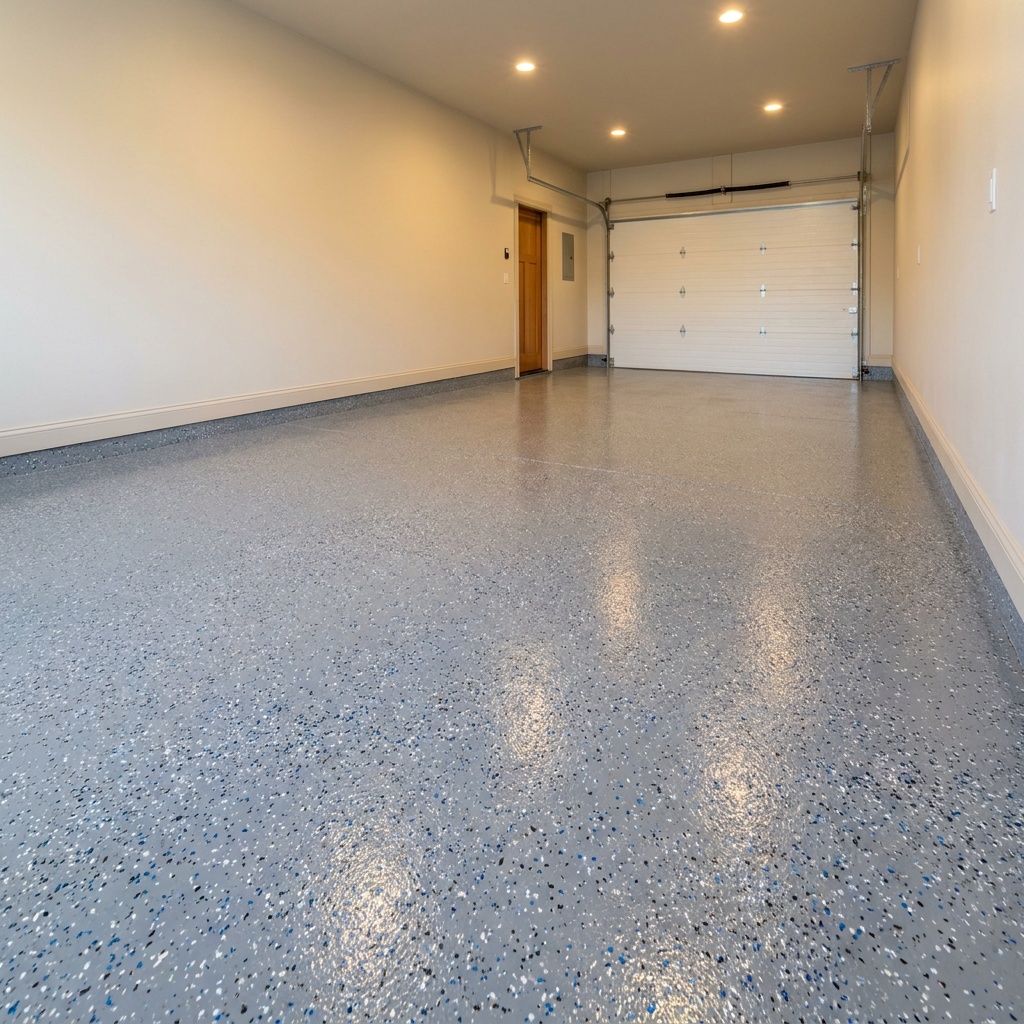
Your home is new, the garage is empty, and you want a floor that looks finished the day you move the boxes and bikes in — not something you’ll get around to eventually. You care about the finish options: a clean solid color, a metallic flake system, or a broadcast chip pattern that photographs well and holds up to two or three vehicles without dulling in a season. We’ll walk you through real finish options and a real price before you commit, so what you picture is what actually gets installed.
You need it fast, durable, and off your list
You don’t need a design consultation — you need a floor that survives foot traffic and showings without drama, on a schedule that doesn’t hold up a closing date or a move-in. A fast-curing polyaspartic system can have vehicles back on the floor in about 24 hours instead of the up-to-a-week wait a straight epoxy system needs, and we’ll give you one clear number up front instead of a long back-and-forth.
Process
Five steps, and the grind is never one we skip.
-
1
Estimate & consultation
We look at your slab, ask what’s going on with your garage or floor today, and talk through realistic options and timelines — no pressure, no sales script.
-
2
Slab assessment & diamond-grind prep
We check the concrete for moisture, cracks, and existing coating, then grind it with diamond tooling to the depth that slab actually needs — the step most competitors skip or shortcut with a quick acid etch.
-
3
Written fixed-price proposal
An itemized price you can hold us to, covering prep, materials, and finish — not a verbal ballpark that changes once the grinder starts.
-
4
Coating application
Base coat, any color flake or metallic broadcast, and topcoat go down in sequence, each with the cure time it actually needs before the next layer or before you walk on it.
-
5
Final walkthrough
We walk the finished floor with you, check the edges and transitions, and confirm everything matches the proposal before we call the job done.
What diamond grinding actually does
When concrete cures, the top layer hardens into a thin, weaker skin that looks solid but isn’t — contractors call it laitance. Acid etching only roughens that skin chemically; it doesn’t remove it. Diamond grinding physically cuts through it down to the open, structural aggregate underneath, giving the coating a real mechanical surface to bond into instead of a weak layer that can lift the moment a warm tire settles on it after a drive. It’s the single biggest factor in whether a coating holds for years or peels within months, and it’s why we assess every slab and grind it to the depth it actually needs before any coating goes down, regardless of which coating system you choose.
How a coated floor is actually built, layer by layer. Grinding depth — including whether a slab needs a full grind at all — gets determined at your estimate, not applied as a blanket rule.
Get honest answers about your garage floor
Get a Fixed-Price EstimateRecent Work
Representative Atlanta-metro coating projects.
These are representative examples showing typical scope, materials, and pricing for the areas we serve — not yet a documented project gallery.
The Alpharetta Garage
The Milton Showroom Garage
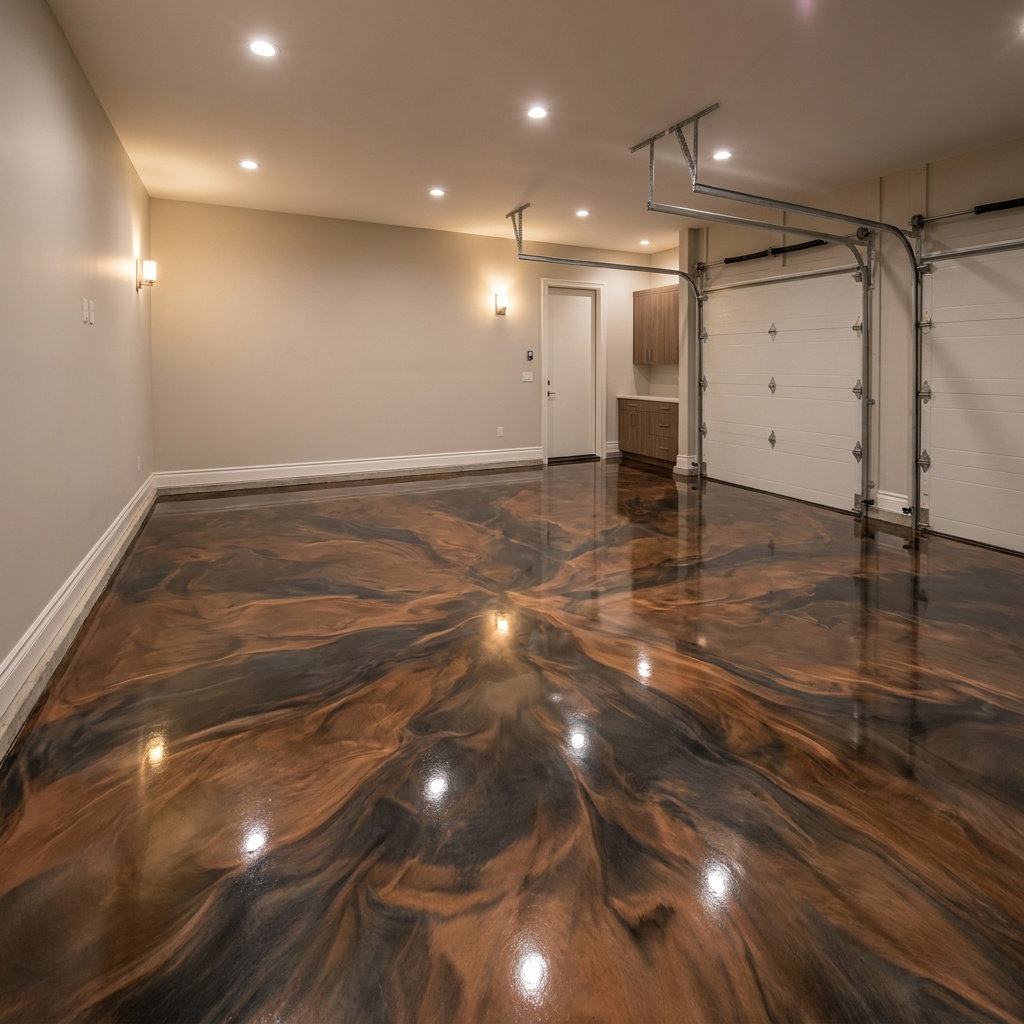
The Johns Creek Garage

The Suwanee Flex Room
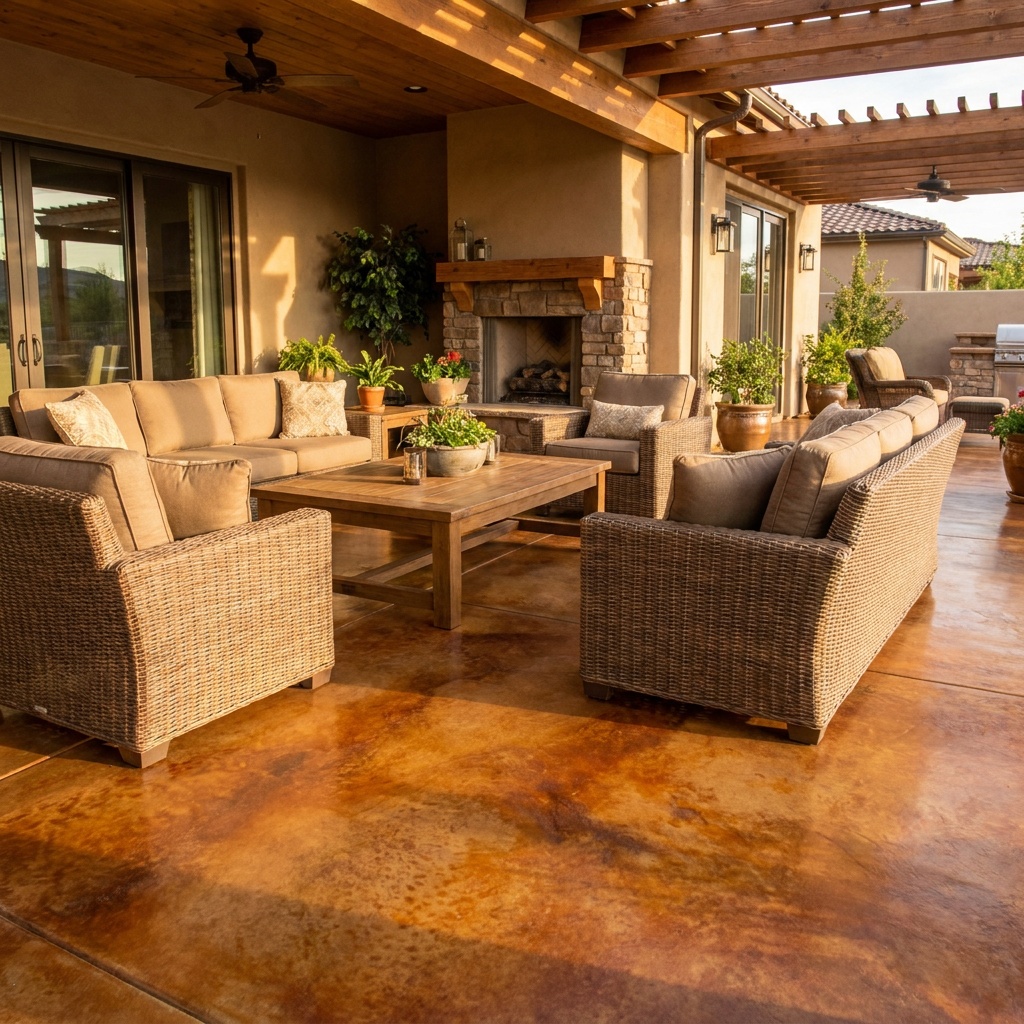
The Cumming Patio
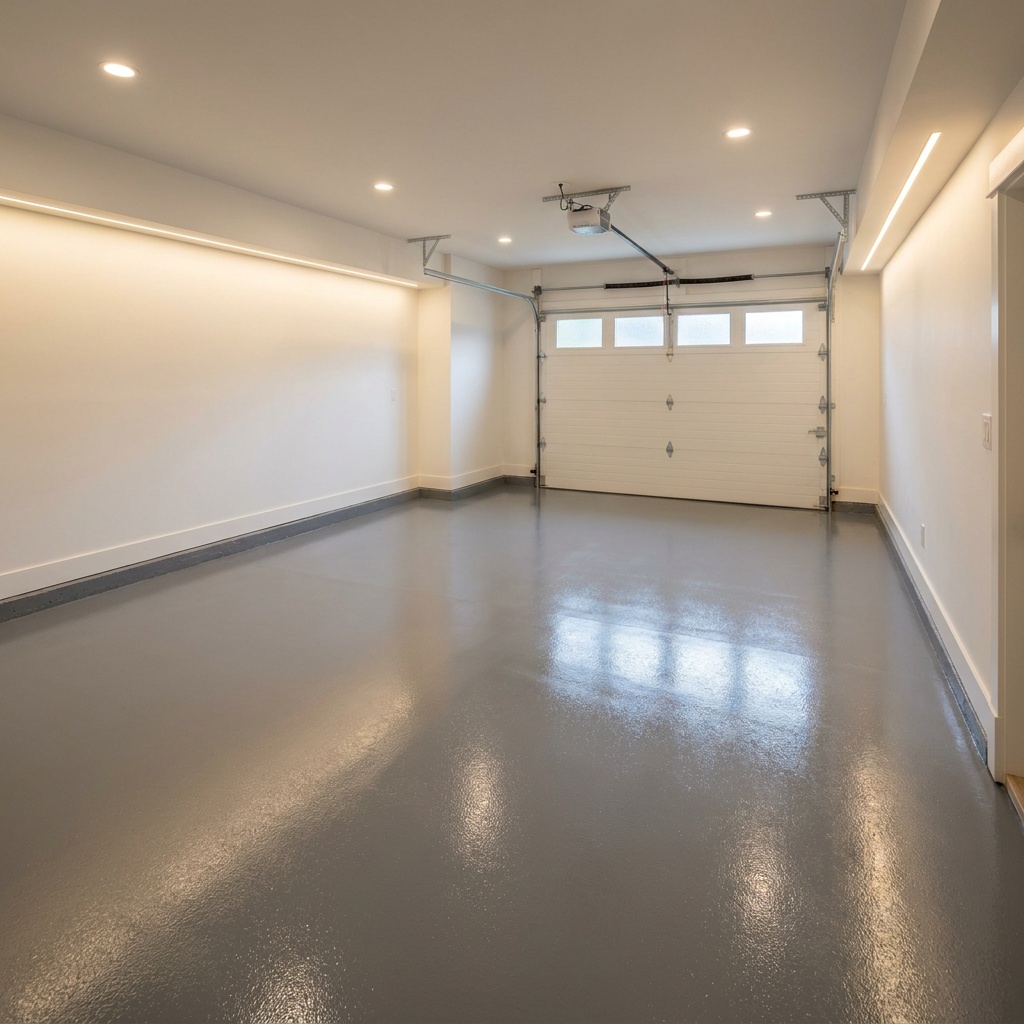
The Roswell Garage Recoat
See what a fixed-price estimate for your garage looks like
Get a Fixed-Price EstimateWhat Clients Say
Sample reviews while we build a verified review record.
Sample reviews shown while we collect verified client reviews. These are illustrative, not from actual clients.
“The floor doesn’t lift under the tires anymore, which was the entire reason I called after trying it myself the first time.”
Homeowner, Roswell
“They showed me the ground concrete before anything went on it. I finally understood what real prep actually meant.”
Homeowner, Alpharetta
“The number on the estimate matched the number on the invoice. No add-ons showed up partway through the job.”
Homeowner, Milton
“We needed the garage floor done before closing, and they hit the timeline without cutting the prep short.”
Investor, Marietta
Frequently Asked Questions
Straight answers, before you have to ask twice.
Why is my epoxy garage floor peeling?
Almost every peeling or hot tire pickup failure on an epoxy garage floor traces back to one thing: the concrete wasn’t properly diamond-ground before the coating went down. When concrete cures, it forms a hardened, weaker layer at the very surface — sometimes called laitance — that looks solid but isn’t structurally sound. A broom-finished or acid-etched slab can look ready for coating, but coating applied over that surface layer is only ever as strong as the layer itself, not the structural concrete underneath it. Under the heat and weight of a parked tire, that weak bond gives way and the coating lifts, usually in the exact spot where the tires sit. We assess every slab and grind it down to bare, structural concrete wherever the existing surface needs it, with diamond tooling before any primer or base coat goes on, and we’ll show you the ground surface during your estimate so you can see the difference for yourself before we start.
What causes hot tire pickup, and how do you prevent it?
Hot tire pickup happens when a warm tire, softened slightly by heat and vehicle weight, pulls at a coating that isn’t fully bonded to the structural concrete underneath it — the coating lifts in patches, usually right where the tires sit after driving in. It is almost always a prep problem, not a product problem: a coating bonded to a weak, unground surface layer has nowhere near the holding strength of a coating bonded to open, ground concrete. We prevent it by assessing every slab and diamond-grinding it to bare aggregate wherever it needs it before any coating goes down, which gives the system a mechanical bond into the concrete itself rather than a surface-level bond to a weak top layer. We also confirm the coating system and cure schedule matches your climate and garage use, since Georgia humidity and moisture readings affect how a coating cures and bonds. Proper grinding is the single biggest factor in whether a floor holds up under tires.
Is grinding actually necessary, or is that an upsell?
Grinding is necessary — it isn’t an upsell, and skipping it is the most common reason concrete coatings fail. Acid etching, which some contractors use instead because it’s faster and cheaper, only lightly roughens the surface chemically; it doesn’t remove the hardened, weaker layer that forms at the top of curing concrete. Diamond grinding physically removes that layer down to the structural concrete and opens the pores of the aggregate so the coating has something solid to mechanically bond into. It also lets us see and address cracks, moisture issues, or a soft or damaged slab surface before we coat over a problem instead of hiding it. We include the grinding your specific slab needs in every proposal we write — it isn’t a line item you can decline to save money on a surface that needs it, because a coating over an inadequately prepped slab is a coating that is very likely to peel.
What’s the real price per square foot for a concrete floor coating?
Professionally installed epoxy garage floor coatings in the Atlanta metro typically run $5 to $10 per square foot, with a standard 2-car garage (about 400 square feet) landing between $1,400 and $4,800 total for a normal-prep epoxy system. Polyaspartic systems, which cure faster and hold color better under UV, typically run somewhat higher per square foot. The biggest driver of the final number usually isn’t the coating chemistry — it’s how much grinding and repair the existing slab needs, plus garage size and any decorative flake or metallic finish. Polished concrete and stained concrete are priced individually since they depend heavily on the condition and porosity of your specific slab. We publish these ranges because most contractors in this market don’t publish any pricing at all — we write a real, itemized, fixed-price proposal after seeing your slab, and you’re welcome to check our math against any other bid.
Epoxy vs polyaspartic — which do I actually need?
Both start with the same first step — assessing the slab and grinding it to the depth it needs — but they differ in cure time, UV stability, and cost. Epoxy is the more affordable, well-proven base system and typically needs 24 to 72 hours before foot traffic and up to about a week before vehicles return, which is why it’s often paired with a polyaspartic topcoat rather than used alone. Polyaspartic cures much faster, often ready for foot traffic in 4 to 6 hours and vehicles within about 24 hours, and it resists UV yellowing better over time, which matters for a garage that gets direct sun through an open door. Metallic and marbled flake finishes are almost always built on an epoxy base, since polyaspartic’s fast cure time makes intricate color work impractical. If speed and long-term color stability matter most, polyaspartic usually wins; if budget is the priority and timeline is flexible, epoxy is the well-proven choice. We’ll walk through both during your estimate.
How long until I can park in my garage again?
It depends on the system. A straight epoxy system typically needs 24 to 72 hours before you can walk on it comfortably and up to about a week before it’s ready for vehicle weight, since epoxy needs real time to reach full cure strength. A polyaspartic topcoat speeds this up considerably — often ready for foot traffic in 4 to 6 hours and for vehicles within about 24 hours, which is why many of our proposals pair an epoxy base coat with a polyaspartic topcoat when timeline matters. Slab assessment, grinding, and any repair work happen before coating even starts, so total project time from first visit to parking your car back inside typically runs a few days to about a week depending on garage size and how much prep the slab needs. We give you a specific timeline in writing as part of your fixed-price proposal, not just a general range.
I already tried a DIY kit and it failed — can this be fixed?
Yes, and you’re far from the only one — DIY epoxy kits fail often, usually because the concrete wasn’t ground before the kit went down or because two incompatible components got mixed. Fixing a failed coating starts the same way a new install does: we assess the slab and grind off the failed coating along with the weak surface layer underneath it, all the way down to sound, structural concrete. In some cases a failed DIY job has actually pulled up small chunks of the original concrete along with the coating, which means the repair needs extra grinding passes and possibly some patching before a new system goes down. It takes a bit more time than a first-time install because of the removal step, but the result holds the same way a proper first install does, because it gets the same real prep. We’ll assess what’s actually happening with your slab at the estimate and give you a specific fixed price for the repair, not just a bandage over the same problem.
Get In Touch
Talk to us about your floor.
No obligation, just a conversation about what’s actually going on with your slab and what it would take to fix it right.
No obligation, just a conversation.
Based on a standard epoxy system on a 2-car garage with normal prep. Extensive grinding, larger garages, and polyaspartic, polished, or stained systems are priced separately.
What happens when you reach out
-
1
We respond within one business day — no automated ticket queue.
-
2
We ask a few questions about your slab and, if needed, schedule an on-site assessment.
-
3
You get a written, fixed-price estimate — no pressure to sign on the spot.