

Concrete looks rigid, but it moves more than most people think. Heat, cold, moisture, and load changes all push and pull on a slab.
That’s why concrete expansion joints matter. They give the slab room to move instead of forcing stress into random cracks, chipped edges, or lifted sections. If you’re looking at a garage, patio, basement, or shop floor, this small detail has a big effect on how the slab performs.
Why concrete expansion joints matter
An expansion joint is a planned gap between concrete sections, or between concrete and a fixed object. That gap usually includes a compressible filler and, in many cases, a flexible sealant at the top.
Think of it like leaving space around wood flooring. If the material swells and has nowhere to go, something gives. Concrete acts the same way, even if the movement is slight.
When a slab pushes against a wall, column, curb, or another slab without relief, pressure builds. Over time, that can show up as random cracking, spalling along the edges, or heaving where one section rides up against another.
If the slab can’t move where it needs to, it’ll crack where it wants to.
That said, not every joint you see in concrete is an expansion joint. Many slabs use other joint types to manage shrinkage, phasing, or separation from structures. Getting the terms right helps you judge what should be there, and what may be missing.
The joint types people often confuse
Homeowners often call any line in concrete an expansion joint. In practice, there are a few different joint types, and each has a different job.
Here’s the quick side-by-side view:
| Joint type | What it does | Where you usually see it |
|---|---|---|
| Expansion joint | Allows slab sections to expand and contract without pushing on each other | Between slabs, at long runs, or where movement is expected |
| Control joint | Creates a planned weak line so shrinkage cracks form neatly | Saw-cut or tooled lines in driveways, patios, and floors |
| Construction joint | Marks where one concrete pour stopped and another started | End-of-day pours or phased work |
| Isolation joint | Separates slab from fixed parts of the structure | Along walls, columns, footings, and curbs |
In many residential jobs, what people call an expansion joint at a wall or column is technically an isolation joint. The name matters less than the function. The slab needs a buffer from anything that won’t move with it.
Control joints are the most misunderstood. They do not create room for expansion. They help manage shrinkage cracking. So if a contractor skips a true perimeter or isolation joint and relies only on saw cuts, the slab can still bind against the structure.
Where expansion joints usually belong
There isn’t one universal spacing rule for every slab. Local code, climate, slab size, reinforcement, base prep, and engineering all affect the layout.
Still, some placement patterns show up again and again. Expansion or isolation joints usually belong where concrete meets walls, columns, curbs, steps, drains, footings, and adjoining slabs. Those are common stress points because one side moves and the other side resists.
For example, a garage slab should not lock hard against the foundation wall. A sidewalk panel may need separation where it meets a porch or driveway. In a warehouse, larger slab areas may use planned joint lines based on the design, traffic, and pour sequence.
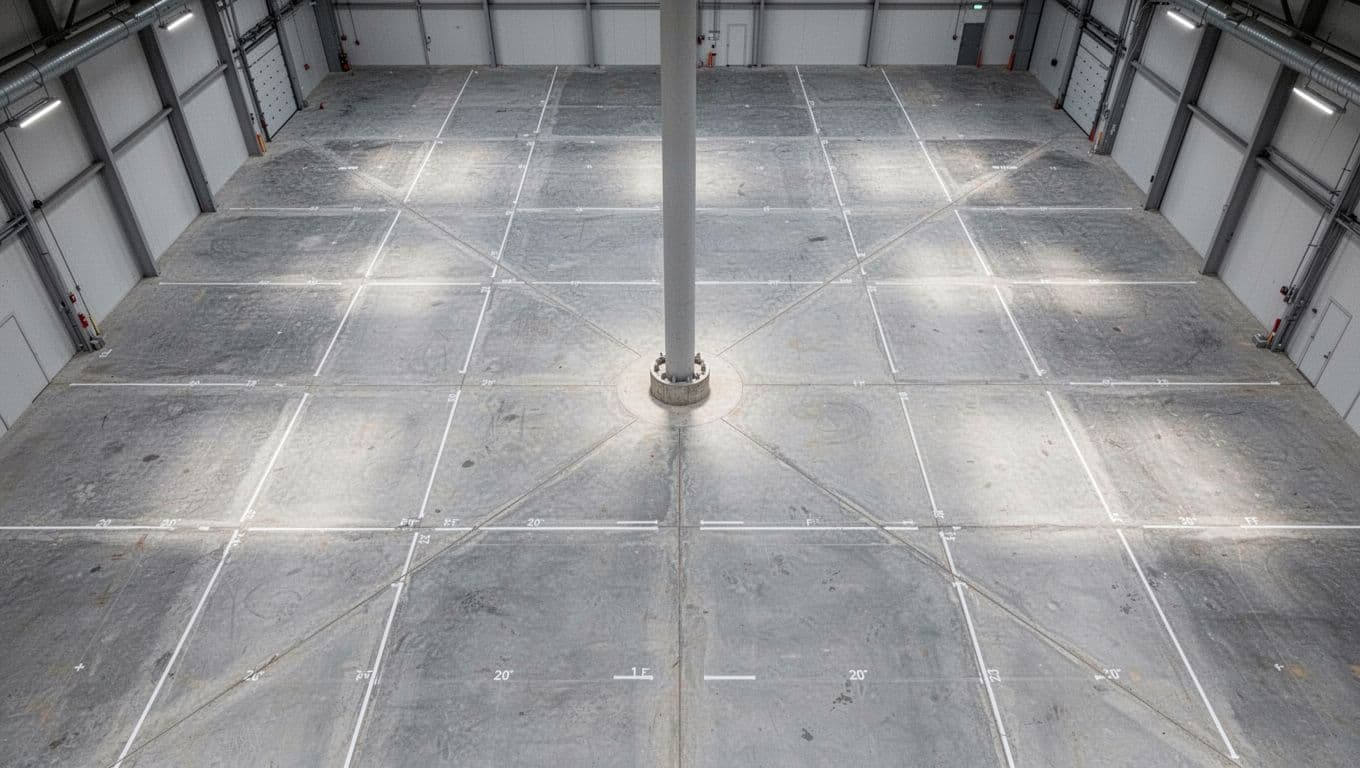
A layout like this can make sense on a large floor, but it isn’t a one-size-fits-all pattern. The right plan depends on the slab and the structure around it.
Exterior slabs need extra care because temperature swings are harsher. Freeze-thaw areas, full sun, poor drainage, and expansive soils can all change how the concrete behaves. Interior slabs have their own issues, especially where moisture or heavy traffic comes into play.
What a proper expansion joint should look like
A good expansion joint should look straight, continuous, and intentional. The width should stay consistent, not pinch tight in one spot and open wide in another. The edges of the concrete should look sound, not ragged or broken.
If the joint is filled, the filler should look even from end to end. The top sealant should sit neatly in the joint, not smeared across the slab or piled high like caulk from a rushed patch. Most important, the joint should continue all the way to the object it is protecting, whether that’s a wall, column, curb, or another slab.
A proper joint also needs to be the right depth and material for the job. That part varies. Some use preformed filler. Others use a backer rod and sealant system. The best choice depends on movement, exposure, traffic, and the finish planned for the slab.
Signs the joint is failing
When an expansion joint stops doing its job, the slab usually tells you. The warning signs are often easy to spot:
- Cracks running away from the joint into the slab
- Spalled or chipped edges along the joint line
- Heaving, where one side lifts higher than the other
- Joint separation, missing filler, or torn sealant
These signs matter even more before a finish goes down. A quality concrete epoxy coating, an epoxy coating for garage floor, or a commercial concrete epoxy coating should never bridge a live joint and pretend the movement isn’t there. The same goes for epoxy coating for concrete with a polyaspartic coating, a basement concrete coating, concrete polishing, or concrete staining. A good garage floor epoxy coating company checks the joints first, because good concrete dealing starts with slab movement, not color or gloss.
Concrete doesn’t crack at random nearly as often as it cracks from stress that had nowhere to go. That’s the real job of an expansion joint.
When the joint is in the right place and looks clean, continuous, and properly filled, the slab has a better chance to last. When it’s missing, blocked, or failing, the concrete usually makes its complaint in plain sight.
Comments are closed