That puddle in the same corner of your garage isn’t harmless. Over time, garage floor low spots can trap water, stain the slab, and ruin any coating you add later.
Most dips are fixable, but the right repair depends on three things, depth, size, and location. A shallow birdbath near the center of the floor is one job. A sinking area by a crack or garage door is another. Start with the slab you have, not the product you want to use.
Measure the low spot before you pick a repair
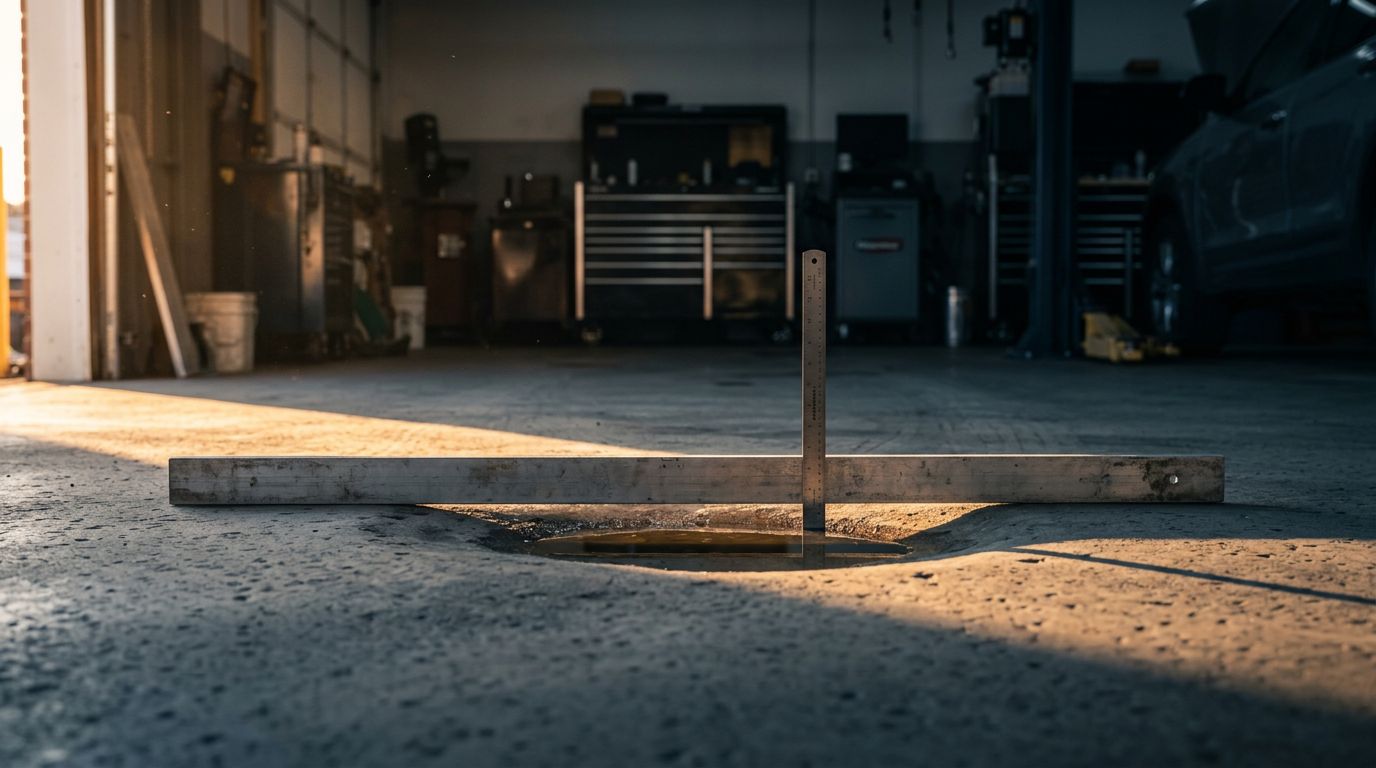
Don’t guess. Put a long straightedge on the floor and slide it across the dip. Then measure the gap at the deepest point with a ruler or shim.
Also map the edges with chalk. That shows whether the low spot is a small isolated depression or a wide shallow bowl. Location matters too. A dip near the garage door gets more water, while one on top of a crack may point to movement below.
This quick guide helps you match the fix to the problem:
| Low spot condition | Typical depth or size | Best repair | DIY difficulty |
|---|---|---|---|
| Small isolated dip | Up to 1/8 inch | Skim patch | Easy |
| Localized low spot | About 1/8 to 1/2 inch | Polymer-modified repair mortar | Moderate |
| Wide shallow area | Several square feet | Self-leveling underlayment | Moderate to hard |
| Near active cracks or water entry | Any depth | Professional evaluation first | Hard |
If the area stays damp, don’t rush into patching or coating. The same moisture warning that applies to a basement concrete coating applies in a garage too.
If the dip sits on a moving crack, keeps returning, or pulls in water from below, stop patching and get the slab checked.
Major settlement, recurring cracks, or water intrusion can mean a larger slab issue. In that case, repair alone won’t last.
Tools, prep, and safety matter more than most DIY guides admit
A small repair doesn’t need a truckload of gear, but it does need the right setup. For a minor dip, plan on a straightedge, chalk, angle grinder, shop vacuum, mixing bucket, drill paddle, margin trowel, and patch material. A wider depression usually needs primer and more than one bag of self-leveling compound.
Coverage changes fast with depth, so check the bag chart before you buy. One shallow dip may take little material. A broad low area can eat through several bags.
Prep is the real job. Good concrete dealing starts with clean, open concrete. If old paint, sealer, or a failing concrete epoxy coating is still on the surface, the patch may not bond well. That’s why best concrete prep for epoxy matters even before you think about a topcoat.
Wear eye protection, hearing protection, gloves, and a dust-rated respirator when grinding. Silica dust is a real risk. Also keep the garage well ventilated, especially if you use a primer or bonding agent.
DIY difficulty is pretty honest here. A dinner-plate-sized dip is manageable for many homeowners. A whole parking bay with uneven slope is often better left to a pro.
How to repair minor low spots step by step
For most homeowners, the best results come from a polymer-modified patch for small dips, or a self-leveling product for a larger shallow area. Pick the material based on the map you made, not on the label alone.
- Clear out the area and remove weak surface material. Sweep first, then degrease if needed. After that, grind the repair zone so the concrete is clean and slightly rough.
- Vacuum every bit of dust. Fine powder weakens bond strength. If the product calls for primer, apply it exactly as directed and let it get tacky or dry as required.
- Mix only what you can place in the working time. Don’t add extra water to make the material easier to spread. That usually weakens the patch and can cause shrinkage.
- Trowel small patches tightly at the edges and build the center to match the surrounding slab. For self-leveling material, pour it into the low area and guide it with a smoother or gauge rake while keeping a wet edge.
- Recheck flatness with the straightedge before the mix fully sets. If one side is still low, fix it then. Waiting until the next day often means more grinding.
- Let the repair cure fully before parking on it. Walk-on time is not vehicle time. Read the label and give it the full cure window.
A smooth finish comes from patience. Feather the edges thin, avoid ridges, and lightly grind any high spots after cure. Tires roll over flaws every day, so even a small hump will show up fast.
How to make the repair hold up under vehicle traffic
A sound patch can still look rough under bright light. That’s a problem if you plan to coat the floor, because glossy finishes highlight every ripple.
If you’re planning an epoxy coating for garage floor use, make sure the repair is cured, dry, and flat. Moisture matters here, so slab moisture testing before epoxy coating is worth a look if the slab has a history of dampness.
For many homeowners, an opaque concrete epoxy coating is the easiest way to blend a repaired area. An epoxy coating for concrete can hide color variation better than bare patch. Many systems also use a polyaspartic coating on top for better UV resistance and quicker return to service.
Decorative finishes are less forgiving. Concrete staining can show patch lines, and concrete polishing won’t hide a repair that wasn’t blended well. If your garage works more like a shop than a storage space, ask about a heavier-build system closer to commercial concrete epoxy coating. A good garage floor epoxy coating company should also tell you when movement, moisture, or poor slope makes coating a bad idea.
That same rule applies no matter what finish you like. Prep decides whether the repair disappears or fails early.
Small low spots usually don’t need a new slab. Match the product to the depth, clean the concrete well, and flatten the repair before tires go back on it.
Still, a dip tied to settlement, recurring cracks, or water coming through the slab is a different problem. In those cases, professional evaluation matters more than another bag of patch.