
Oil stains on a garage slab can feel harmless, until you’re ready to upgrade the floor. Then the same spot that “never really bothered you” becomes the weak point that can ruin the finish.
If you want an epoxy coating for concrete, a long-lasting polyaspartic coating, or clean-looking concrete staining, the prep work matters as much as the product. In plain terms, coatings hate oil. Stains and sealers don’t like it either. If the slab still has grease in the pores, your coating may peel, bubble, or fisheye.
This guide breaks down oil stain removal concrete prep in a way that makes sense, whether you’re coating a home garage, planning basement concrete coating, or scheduling a commercial concrete epoxy coating.
Why oil and grease cause coating failures (and why “looks clean” isn’t clean)
Concrete is a sponge with a hard shell. Oil rarely stays on the surface. It soaks down into capillaries, spreads sideways, and clings to cement paste. That’s why an old drip can still “ghost” through a new finish months later. PROSOCO explains the problem well in their breakdown of why oil bonds to concrete pores.
Once oil is in the slab, it causes three common issues:
1) Poor adhesion
A concrete epoxy coating needs mechanical grip and chemical contact. Oil blocks both. Even if the floor looks dull and dry, residue can sit inside the profile you just created.
2) Fisheyes and craters
Grease contamination can push coatings away during cure. You’ll see tiny circles or pockmarks that won’t level out.
3) Color problems with stains and polishing
Concrete staining depends on even absorption. Oil turns parts of the slab water-resistant, so stain develops blotchy. Concrete polishing can also highlight contamination because polishing closes the surface and can “lock in” discoloration.
If water won’t wet the spot evenly, a coating won’t bond evenly either.
One more thing that trips people up is time. Old oil is often worse than fresh oil because it oxidizes and spreads. So even if the stain is faint, treat it like it’s active.
A practical process for oil stain removal before epoxy, polyaspartic, or stain
There isn’t one magic cleaner. Most successful jobs use a cycle: absorb, scrub, rinse, dry, then test. Repeat as needed. The goal isn’t perfection by eyesight, it’s getting the slab to accept water evenly and pass your bonding prep.
Step 1: Start with dry absorption (don’t skip it)
Before liquids, pull out what you can. Cover the spot with an absorbent material (clay-based kitty litter or an oil-dri style absorbent). Grind it lightly under your shoe to help it contact pores, then leave it overnight. Sweep and vacuum.
This step matters because degreasers work better when they aren’t fighting a puddle of oil.
Step 2: Use an alkaline degreaser, hot water, and agitation
For most garage and driveway spots, an alkaline concrete degreaser is the first “wet” step. Apply it according to label directions, keep it wet long enough to work, then scrub hard with a stiff nylon brush. Rinse with hot water if possible.
Pressure washing can help, but only after the chemistry has broken up the oil. Otherwise, you can drive contamination deeper.
Step 3: For deep stains, use a poultice (it pulls oil upward)
If the stain keeps returning after cleaning, move to a poultice method. A poultice is a paste that uses solvent action plus absorption. You spread it, let it dry, then scrape it off. It’s slower, yet it reaches deeper contamination better than a quick wash. If you want a clear overview of this approach, see this oil-out-of-concrete tutorial.
Step 4: Test the surface, then decide if you need mechanical removal
After cleaning and drying, test the slab:
- Water drop test: water should darken the concrete and spread, not bead. Graco describes this check in their guide to removing oil and grease before surface prep.
- Tape test (quick reality check): press tape onto the area after it’s dry. If it won’t stick well, contamination may still be present.
If the stain still fails the water test, you may need mechanical prep to remove the contaminated concrete near the surface. That can mean diamond grinding or shot blasting, depending on the system and the job size.
Here’s a quick way to match methods to the situation:
| Method | Best for | Main downside |
|---|---|---|
| Absorbent (dry) | Fresh drips and puddles | Doesn’t remove deep contamination |
| Alkaline degreaser + scrub | Light to moderate staining | Often needs repeat cycles |
| Poultice | Old, deep oil shadows | Time, mess, proper disposal |
| Diamond grinding | Coating prep and stubborn spots | Can spread oil if done too early |
| Shot blasting | Large areas, commercial floors | Usually pro equipment |
In other words, concrete dealing with oil often takes more than one pass. Plan time for drying, especially before a polyaspartic coating or epoxy.
Getting the slab ready for the finish you actually want
Once the oil is under control, match your prep to your end goal. The best prep for concrete staining is not always the best prep for an epoxy coating for garage floor use.
For epoxy and polyaspartic systems
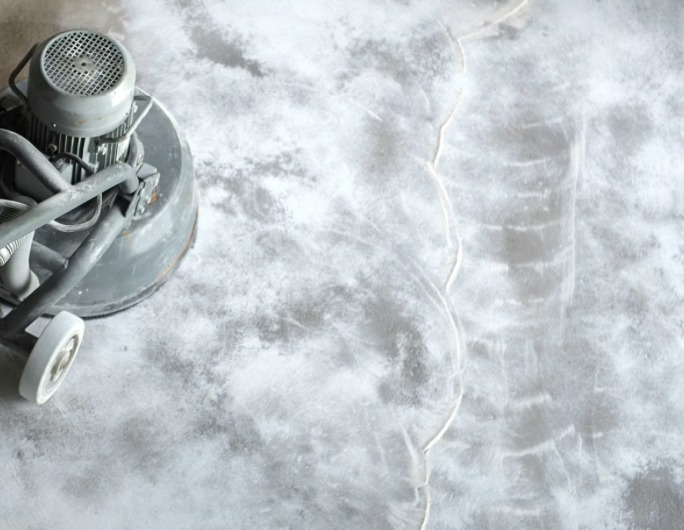
Most epoxy coating for concrete systems need a concrete surface profile (CSP). That usually means grinding or blasting, then a serious vacuum. Even the best cleaner won’t replace mechanical prep.
If you’re hiring a garage floor epoxy coating company, ask how they handle contamination. A good crew won’t just grind and hope. They’ll clean first, profile second, and they’ll re-test the suspect areas.
Also remember that a concrete epoxy coating can be less forgiving than people think. A spot failure often spreads at the edges, like peeling tape. Polyaspartic coating systems can cure fast, which is great, but it also means you must be confident the slab is clean and dry.
For stained or polished concrete
Concrete staining needs open pores and consistent absorption. Heavy degreaser residue can also interfere, so rinse thoroughly and allow full dry time.
With concrete polishing, oil spots can appear as dull patches or odd color changes, even after polishing. In that case, some contractors use localized grinding and re-honing to blend, but it’s never as easy as preventing it.
Basements and commercial spaces have extra constraints
Basement concrete coating projects often involve past leaks, stored chemicals, or old carpet adhesive. Commercial concrete epoxy coating jobs may include forklift fluid, cooking grease, or machine oil. Those contaminants can require stronger chemistry and stricter disposal steps.
If the slab shows wide contamination, it may be smarter to test a small area first, then scale up. That approach saves money and avoids a full-floor failure.
Conclusion
Oil stains don’t just look bad, they change how concrete behaves. When you treat oil stain removal concrete prep as a real process, your coating or stain has a fair chance to bond and stay put. Clean, test, and only then move on to profiling and coating.
If you’re investing in a new epoxy coating for garage floor use, or upgrading a basement or commercial slab, don’t let one greasy spot be the reason the whole floor fails. The prep is the project.
Comments are closed