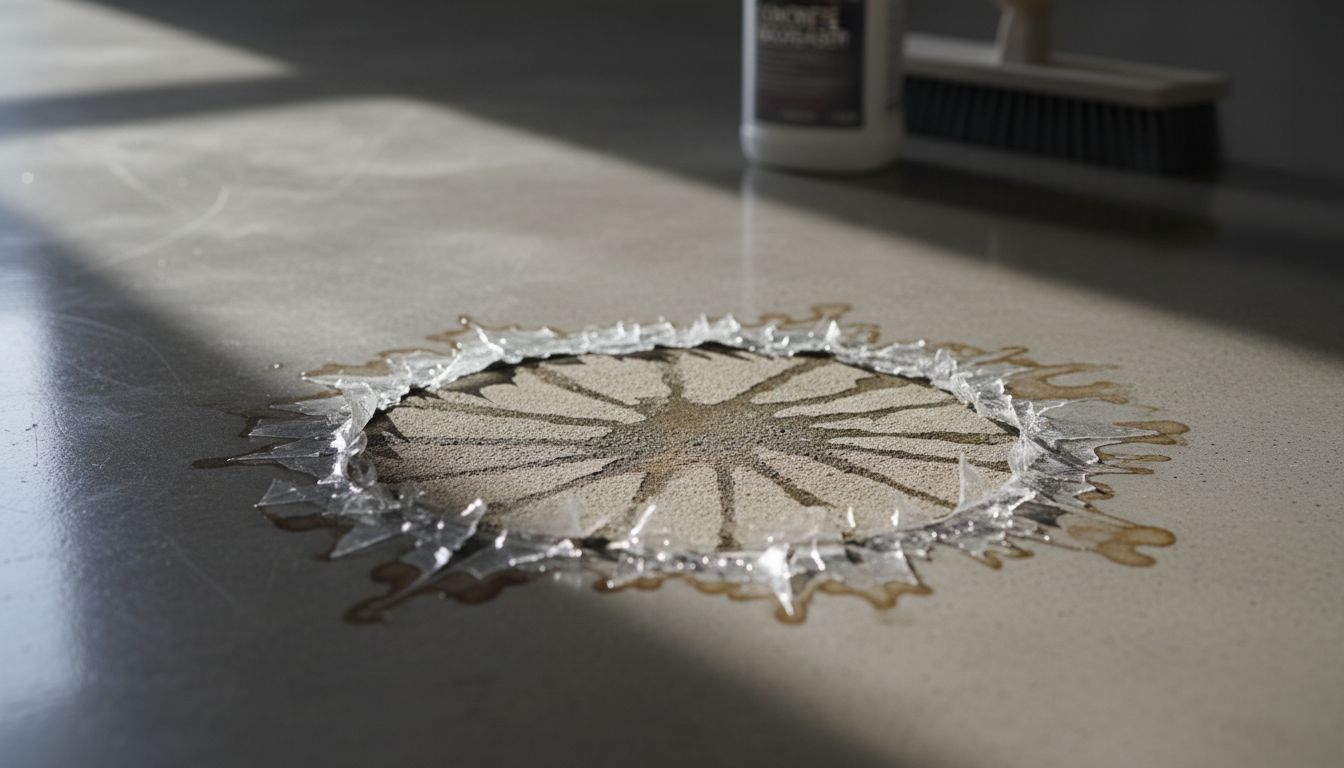
Peeling usually starts as a small adhesion break, then spreads under traffic and moisture (created with AI).
If you’re dealing with concrete coating peeling, it’s almost never “bad luck.” A coating peels when it can’t bond to the slab, or when something pushes it off later (moisture, salts, heat, or weak concrete at the surface).
The frustrating part is that peeling can happen to a concrete epoxy coating, a polyaspartic coating, and even simple acrylic paints or sealers, just for different reasons. The good news is that most causes are predictable and preventable.
Below are nine common failure points, plus what to do differently next time.
 ## Prep problems that quietly kill adhesion (Causes 1 to 3)
Cause 1: Oil, silicone, or soap residue left behind. Garages are full of “invisible” bond breakers: tire oils, detailing sprays, and degreaser films. Even a great epoxy coating for concrete can lift if contaminants sit in the pores. Prevent it: Use a concrete-safe degreaser, scrub aggressively, then rinse until rinse water stops beading. Let the slab dry fully. If water still beads, keep cleaning.
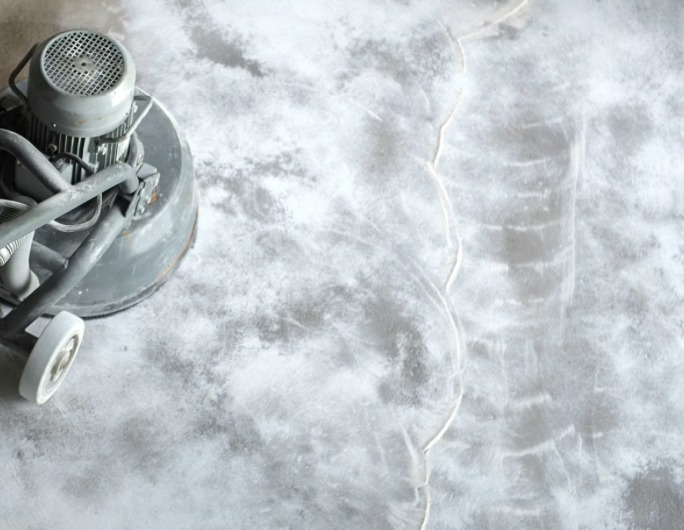
Cause 2: The slab is too smooth (wrong surface profile). Coatings need a mechanical bite. A floor that’s steel-troweled tight, sealed, or previously concrete polishing-finished is like trying to stick tape to glass. Prevent it: Mechanically profile with grinding or shot blasting. Many thin-film systems want about CSP 2 to CSP 3. For a clear reference, see the ICRI surface prep guideline (310.2R). Acid etching can work on some slabs, but it’s easier to get wrong (more on that below).
Cause 3: Weak top layer (laitance) or old coatings left in place. That dusty, weak “cream” on top of concrete can shear off under a coating. So can leftover paint, curing compounds, or a glossy sealer. Prevent it: Don’t coat over mystery layers. Grind until you see solid, open concrete. A quick check is the tape pull test (described later). If the tape pulls up dust or flakes, your coating will too.
Moisture, salts, and chemistry (Causes 4 to 6)
Cause 4: Moisture vapor pushing up through the slab. This is the big one for an epoxy coating for garage floor or a basement concrete coating. Moisture pressure can form blisters, then delamination. Dark spots, damp edges, and musty smells are common clues. Prevent it: Test before you coat. Pros often use ASTM F2170 (in-slab RH probes) or ASTM F1869 (calcium chloride). If moisture is high, choose a moisture-tolerant primer or a moisture-mitigation system, and fix drainage outside. For a moisture-focused overview, see preventing moisture-related coating failures.
If you see efflorescence (white salts) today, assume moisture movement is still happening.
Cause 5: Efflorescence and high pH at the surface. Salts can grow under coatings like tiny wedges. Fresh concrete also runs alkaline, and some coatings hate high pH. Prevent it: Remove salts by dry brushing and vacuuming, then wash and rinse well. Let the slab dry, then re-check. If you used an acid wash, always neutralize (next cause). Also be cautious with concrete dealing during the original pour, because curing compounds and hard troweling can make moisture issues worse later.
Cause 6: Acid etch residue that was never neutralized. Etching can leave acidic residue, loosened paste, or salts in the pores. That can block primer wet-out and cause peeling. Prevent it: After etching, neutralize (many use a baking soda and water solution), then rinse until rinse water is clean. Let it dry, then confirm the surface isn’t dusty. When in doubt, mechanical profiling is more reliable.
Application and curing mistakes (Causes 7 to 9)
Cause 7: Wrong mix ratio or poor mixing. Epoxy and poly systems cure by chemistry, not by “drying.” If Part A and Part B aren’t measured and mixed exactly, you can get soft spots that peel under tires. This shows up a lot in DIY concrete epoxy coating jobs and rushed commercial concrete epoxy coating installs with multiple batches. Prevent it: Follow the stated ratio by volume or weight. Mix for the full time listed, often 2 to 3 minutes, and scrape the sides. Some products require an induction time (a short rest) before application.
Cause 8: Incorrect film thickness (too thick or too thin). Too thin can leave dry, weak areas. Too thick can trap solvent, overheat in the bucket, or crack and release. Outgassing from warming concrete can also form bubbles that become peel points. Prevent it: Use a wet film gauge. As a general range, many epoxies land around 8 to 20 mils per coat, polyaspartics often run thinner, and acrylic sealers thinner still. Apply when slab temps are steady or falling, not climbing in the morning sun.
Cause 9: Missed recoat window or bad dew point conditions. If you wait too long between coats, the next layer can’t chemically bond. Condensation can also form when the slab is near the dew point, creating a thin water layer that ruins adhesion. Prevent it: Recoat inside the stated window. If you miss it, sand or screen and vacuum before recoating. Keep the slab at least 5°F above the dew point, and follow product limits for temperature and humidity. Polyaspartic coating systems often cure fast, so timing matters even more.
A practical plan to diagnose, fix, and prevent peeling next time
Before you recoat, confirm what failed. Here are quick field checks that save money.
A simple table helps you match symptoms to causes:
| Quick test | How to do it | What results suggest |
|---|---|---|
| Tape pull test | Cut an X, press strong tape, rip fast | Dust or flakes mean weak surface or poor prep |
| Water drop test | Drip water on bare concrete | Beading suggests sealer, oil, or contamination |
| Plastic sheet check | Tape plastic for 24 hours | Condensation suggests moisture drive |
| Visual scan | Look for white salts or dark patches | Efflorescence or dampness points to moisture issues |
If the coating is loose, remove it fully. Spot fixes fail when edges keep lifting.
Next, handle repairs before coating: patch spalls, then crack repair matters. Chase cracks to sound concrete, fill with the right filler (often epoxy or polyurea), let it cure, then grind flush. Don’t bridge moving control joints unless your system is designed for it.
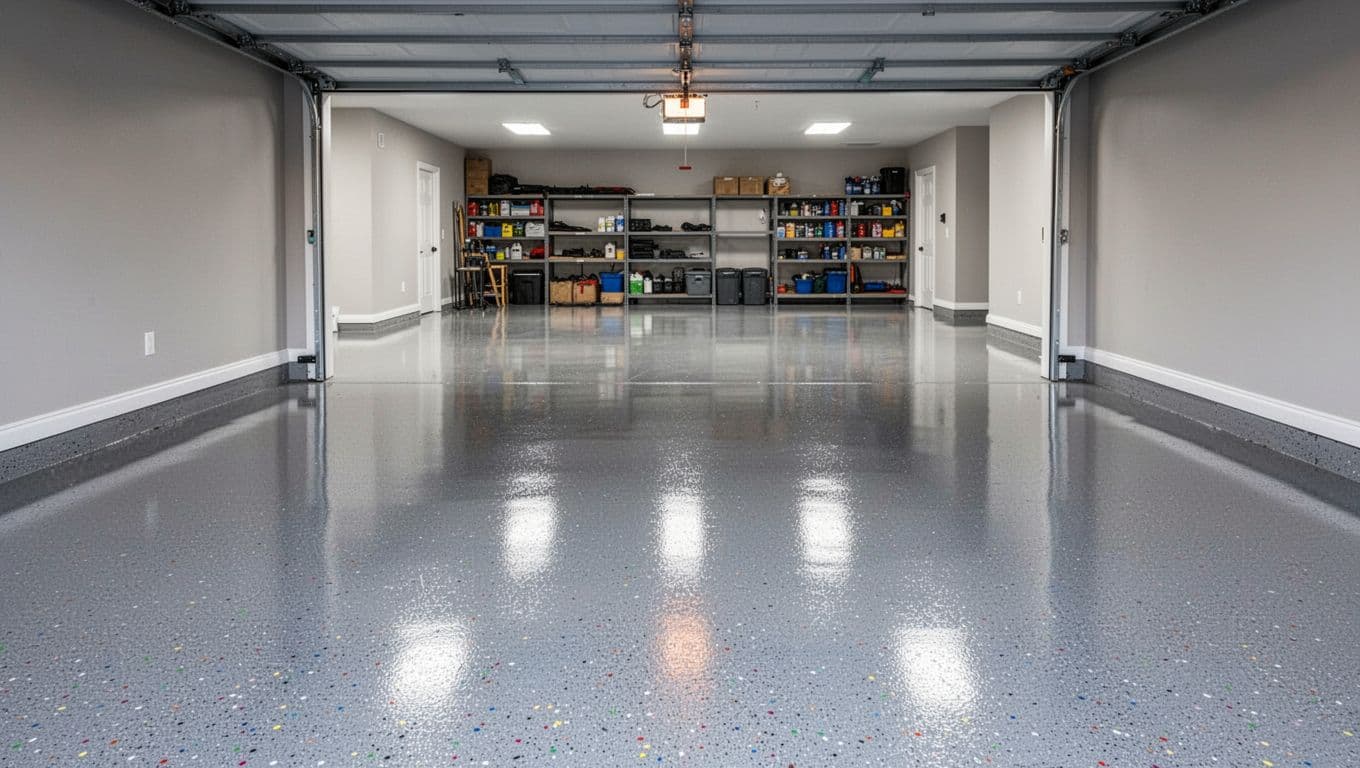
Finally, match the system to the space. An epoxy coating for garage floor use needs good tire-stain resistance and cure time protection. A basement concrete coating often needs moisture-tolerant primers. If you want a decorative look, concrete staining might be a better fit than a film-forming paint on marginal slabs.
For consumer-friendly repair and prevention tips, see how to prevent epoxy garage floor coating peeling.
Safety and when to call a pro
Grinding creates silica dust, and coatings can produce strong fumes. Use a respirator, eye protection, gloves, and strong ventilation. Use a HEPA vacuum on grinders.
Call a garage floor epoxy coating company when moisture tests fail, peeling is widespread, or you’re coating a large commercial space. Pros also help when you need moisture mitigation, shot blasting, or strict cure scheduling.
Conclusion
Concrete coating peeling usually traces back to one of three things: prep, moisture, or application timing. Once you identify which one is in play, the fix becomes straightforward, even if it takes effort. Test the slab, profile it to the right CSP, pick a compatible primer, then control temperature, humidity, and recoat windows. Do that, and your next epoxy or polyaspartic floor has a real chance to stay bonded for the long haul.
Comments are closed