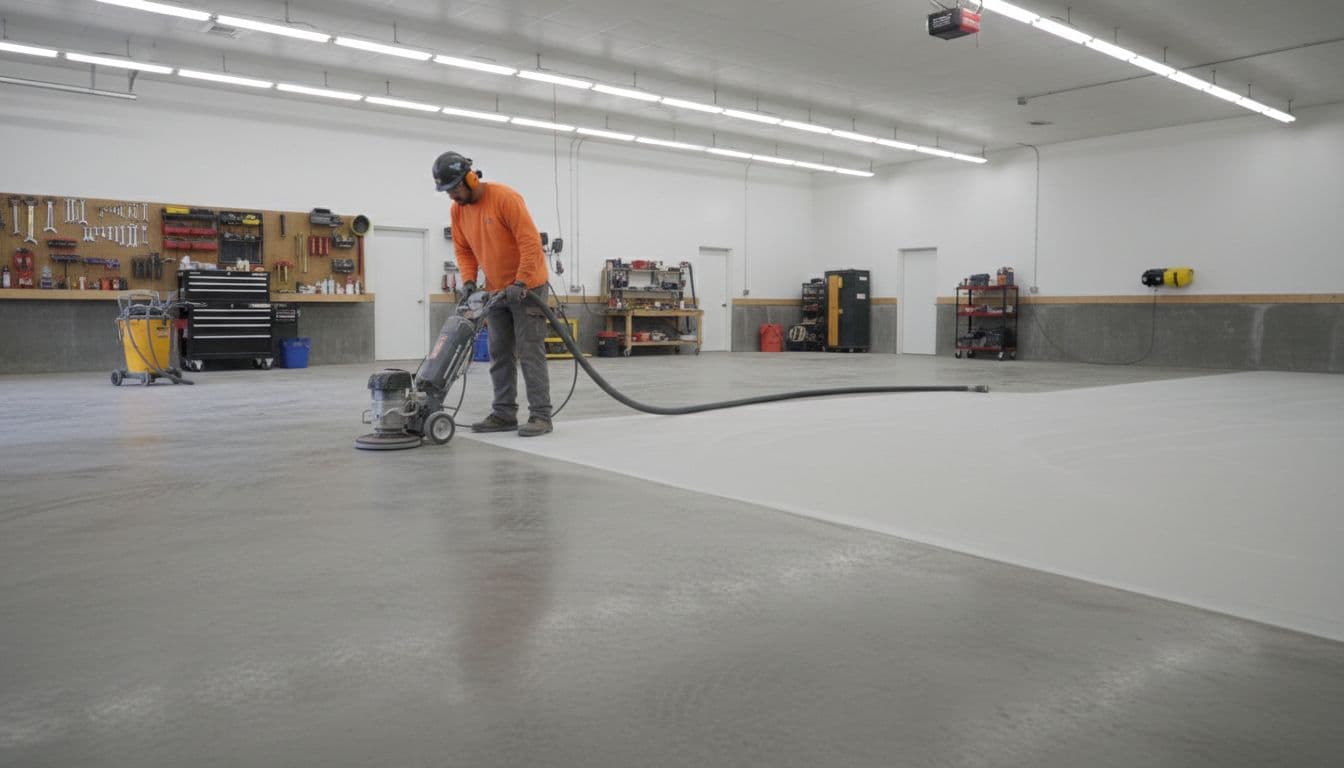
A durable garage coating does not start with the product you buy. It starts with the condition of the concrete and the quality of the prep work. Skip prep, and even a premium system can fail early.
When the surface is not ready, common problems show up fast: peeling at the tires, bubbles from trapped moisture, dull or blotchy sheen, and “hot-tire pickup” where softened coating lifts under warm rubber. That kind of failure often looks like a bad coating, but the real cause is usually a weak bond.
This practical checklist covers what must happen before any epoxy garage coating, garage epoxy, or other garage coating system goes down. Follow it in order, and you will remove the guesswork that ruins most installs.
Before you start, confirm the floor and plan the job
Garage floors rarely look complicated, yet they are. Oil stains, old paint, hairline cracks, control joints, and humid air all change how you should prep. Moisture and timing matter just as much as cleanliness.
Plan for prep to take longer than coating. Most coating steps feel productive, so people rush to get there. However, rushing prep is the top cause of early failure. If you cut corners now, the coating may look fine for a month, then start letting go in sheets.
In addition, think about access and downtime. You will need the garage empty, dry, and dust-controlled. That means moving storage, parking cars elsewhere, and allowing cure time. A clean schedule protects your result more than any “thicker” coat.
Quick concrete check: age, sealers, paint, and weak spots
Start with a fast condition check. These simple tests tell you whether cleaning is enough, or whether you need aggressive surface prep.
- Concrete age: A new slab should typically cure at least 28 days before most coatings. If it is younger, moisture and alkalinity can cause bond issues.
- Shiny areas or dark patches: Shine often signals a sealer, curing compound, or trowel-burnished surface. Dark patches can be oil or old chemicals.
- Flaking, pitting, or dusty concrete: If you can rub the surface and create fine dust easily, the top layer may be weak and needs removal.
- Scratch test for weak concrete: Use a screwdriver and scrape with firm pressure. If it gouges easily or the surface powders, you likely need grinding to reach solid concrete.
- Water-drop test for sealers: Put a few drops of water on several areas. If water beads and stays beaded, something is blocking the pores (sealer, oil, silicone, or residue). In that case, scrubbing alone rarely works. Plan on grinding.
The goal is simple: a coating must soak in and grip. If the pores are closed, the coating sits on top like paint on glass.
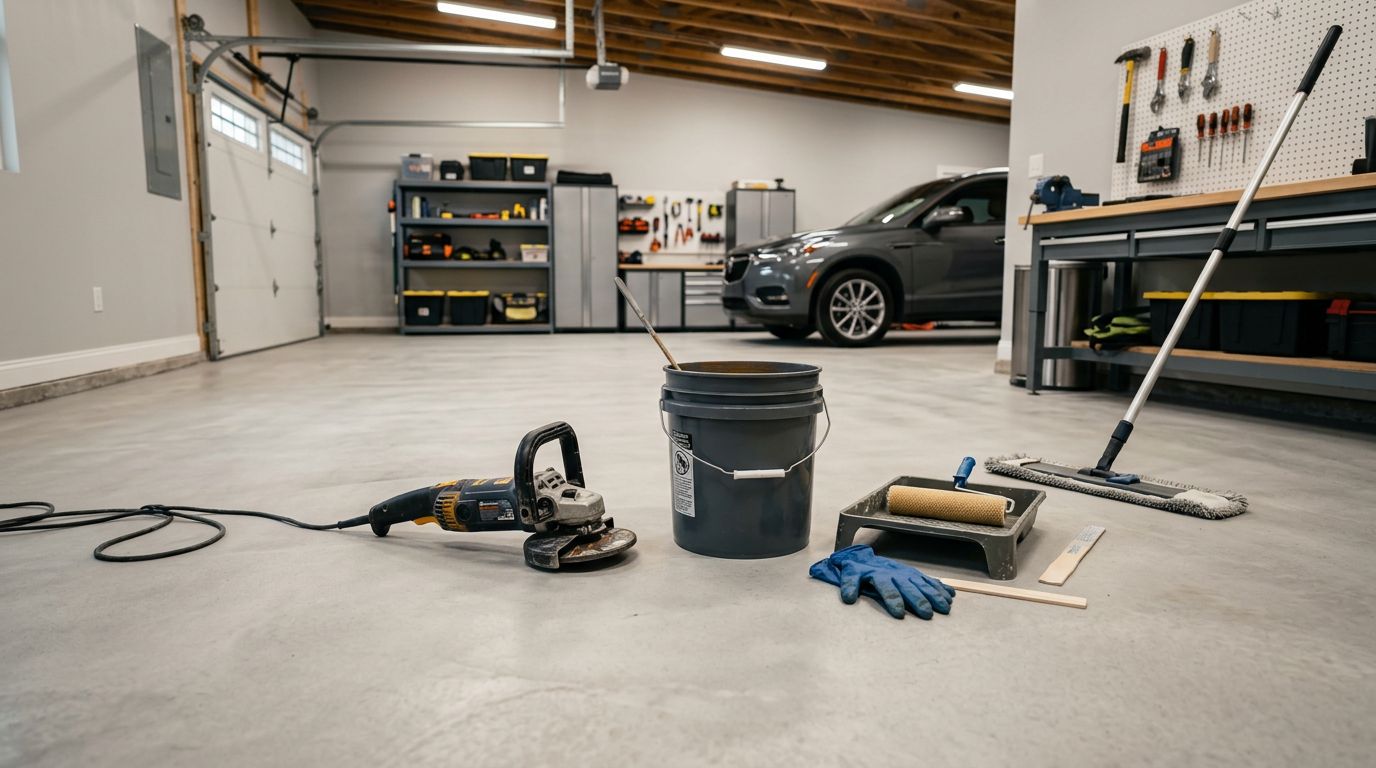
Tools, safety gear, and conditions that matter
You do not need a warehouse of equipment, but you do need the right basics. A poor vacuum or no respirator can turn prep into a dusty mess, and dust is a bond breaker.
Here is a practical baseline for most garage prep:
- Cleaning: broom, stiff scrub brush, shop vacuum with a fine dust filter, concrete degreaser, squeegee, hose or pressure washer
- Repairs: crack repair product, patch material for pits or spalls, putty knife or trowel
- Profiling: diamond grinder rental (preferred) or an etch kit for bare porous concrete
- Protection: gloves, eye protection, knee pads, hearing protection, and a respirator when grinding
- Moisture check: plastic sheet and tape for a simple 24-hour test
Stable weather helps, even in a garage. Aim for steady temperatures and lower humidity because drying slows when the air is damp. Also, airflow matters. Use fans to move air across the slab, not just around the room, so rinse water and moisture in the pores can escape.
If the slab feels cool and damp hours after cleaning, it is not ready. Coatings punish impatience.
Deep cleaning: remove everything that blocks a bond
Deep cleaning is not “make it look better” cleaning. It is pore-level cleaning. Concrete acts like a sponge, so oil, tire plasticizers, silicone sprays, and soap residues can live below the surface. If they stay, your epoxy garage coating bonds to contamination, not concrete.
A good rule: if water does not wet the slab evenly, the slab is not clean enough. Do not move on until water sheets out and soaks in, unless a known sealer is present (then you need mechanical removal).
Clear the garage, then dry-remove debris and loose material
Empty the garage completely. Leaving items along the wall invites shortcuts, and shortcuts leave weak edges. Coatings often fail first where prep was hardest, along stem walls, corners, and around door tracks.
Next, dry-remove what you can before adding water:
- Sweep thoroughly, including the edges.
- Scrape loose paint, old adhesive, and flaking patches.
- Vacuum control joints and cracks so you do not wash grit deeper.
This step looks basic, yet it prevents a common issue. Dust packed into joints later mixes with coating and creates thin, crumbly lines that can break under traffic.
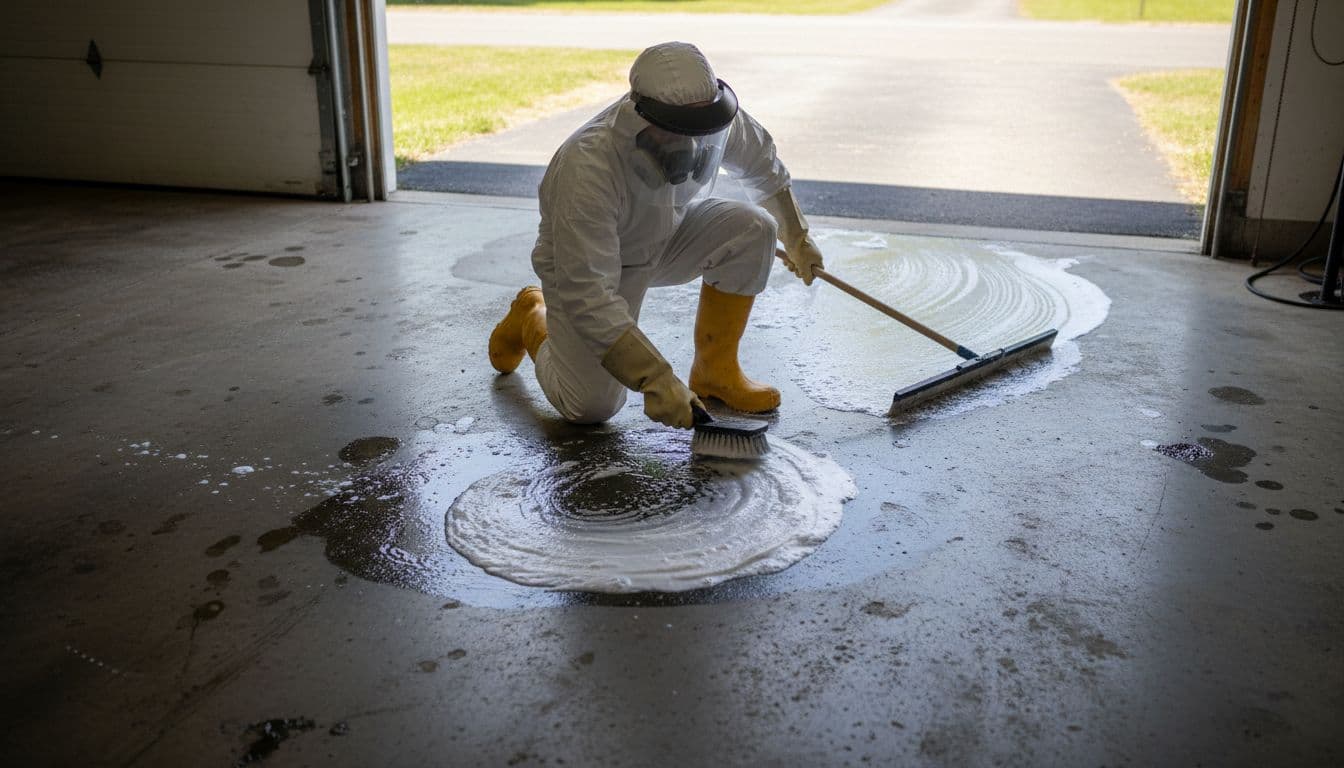
Degrease correctly, then rinse until the rinse water stays clean
Degreasing is a process, not a quick spray. If you rush it, the slab can look clean while oil remains below the surface.
A simple approach works for many garages:
- Pre-wet the concrete so the degreaser spreads and does not flash-dry.
- Apply concrete degreaser and scrub aggressively in small sections.
- Let it dwell per label instructions. Do not let it dry on the slab.
- Rinse with strong water flow, then squeegee the dirty water out.
- Repeat in stubborn areas until rinse water stays clear.
After rinsing, perform another water test. If water still beads, you still have contamination or a sealer, and you should not coat yet.
Drying time matters as much as scrubbing. Many slabs need 24 hours or more after wet cleaning, especially in humid climates. Fans help, and a dehumidifier can help even more. Do not rely on “it looks dry.” Moisture can sit below the surface.
Fix damage first, because coatings do not hide concrete problems
A coating follows the shape of the slab. That means cracks, pits, spalls, and pop-outs will show through. Worse, they can stress the coating and start a failure point. Repairs are part of performance prep, not cosmetic work.
When people expect garage epoxy to “fill everything,” they often end up with a floor that looks good from the door and rough up close. A flat, solid surface supports a uniform film build and consistent gloss.
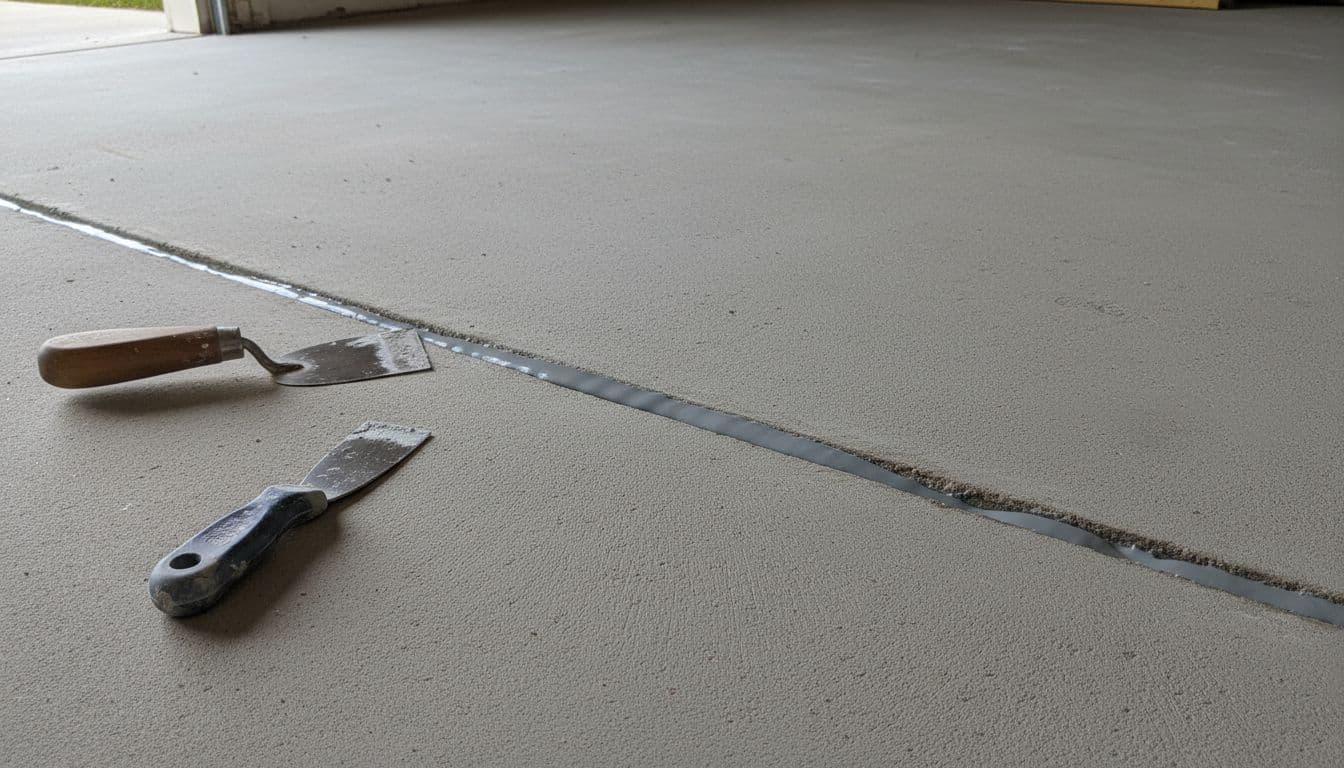
Repair cracks, pits, and spalls so the surface is flat and solid
Keep repairs compatible with your planned system. Some patch materials do not bond well with certain coatings, and cure times vary. Follow the repair product instructions and do not coat early.
A straightforward repair sequence usually works:
- Open and clean: Widen tight cracks slightly if needed, then vacuum out dust and grit.
- Remove loose concrete: Chip out anything hollow or flaking until you reach solid edges.
- Fill and level: Use a suitable crack filler or patch, then shape it slightly proud of the surface.
- Let it cure: Respect cure time. If you grind or coat too soon, you can pull it out.
- Grind flush: Bring patches level with the slab. Avoid leaving high ridges.
Feather edges matter. Thin, tapered patch edges can chip, and chips telegraph through a garage coating. Grind repairs so edges are solid, not razor-thin.
Control joints deserve a decision, not a guess. If the joint is designed to move, filling it can lead to a crack line returning later. Many installers “honor” control joints and coat over them as joints, while others fill them for a seamless look. If you fill, expect that movement may still print through.
Check the surface again after repairs
Repairs often cure smoother than the surrounding slab. That smoothness can become a bond issue, especially under an epoxy garage coating that needs mechanical grip.
Run your hand across repaired areas and compare them to the rest of the floor. If they feel slick, they need profiling, usually with grinding. Also check the visual texture. A mismatched surface can create gloss changes where patches sit, even when the coating does not fail.
Create the right surface profile, then prove it is dry and ready
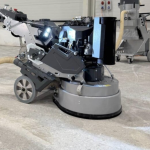
Surface profile is where long-term performance is decided. Think of it like sanding wood before stain. Without the right tooth, the coating cannot lock in. With the right tooth, the coating grabs and stays put.
Grinding is the most reliable way to create that profile on modern slabs, especially when the surface is dense, sealed, or painted. Etching can work on some bare concrete, but it is less consistent.
Grinding vs. acid etching: choose the method that matches your floor
Use this comparison to pick the right approach for your slab. One sentence summary: grinding removes problems, etching mainly changes the surface chemistry.
Here is a quick side-by-side view:
| Prep method | Best for | Limits | What “ready” looks like |
|---|---|---|---|
| Diamond grinding | Sealed, painted, dense, or hard-troweled concrete, long-term bond needs | Requires equipment, creates dust without proper vacuum | Uniform matte surface with no shiny spots, feels like light sandpaper |
| Acid etching | Bare, porous concrete with no sealer and minimal contamination | Cannot remove sealers or deep oil, can etch unevenly, must rinse thoroughly | Even wetting and slight texture, no residue, no slick areas |
Takeaway: if you see shine, suspect sealer, or have old paint, grinding usually provides the best path. Also, control dust. Dust left behind becomes a thin layer that the garage coating bonds to, and that layer can release under stress.
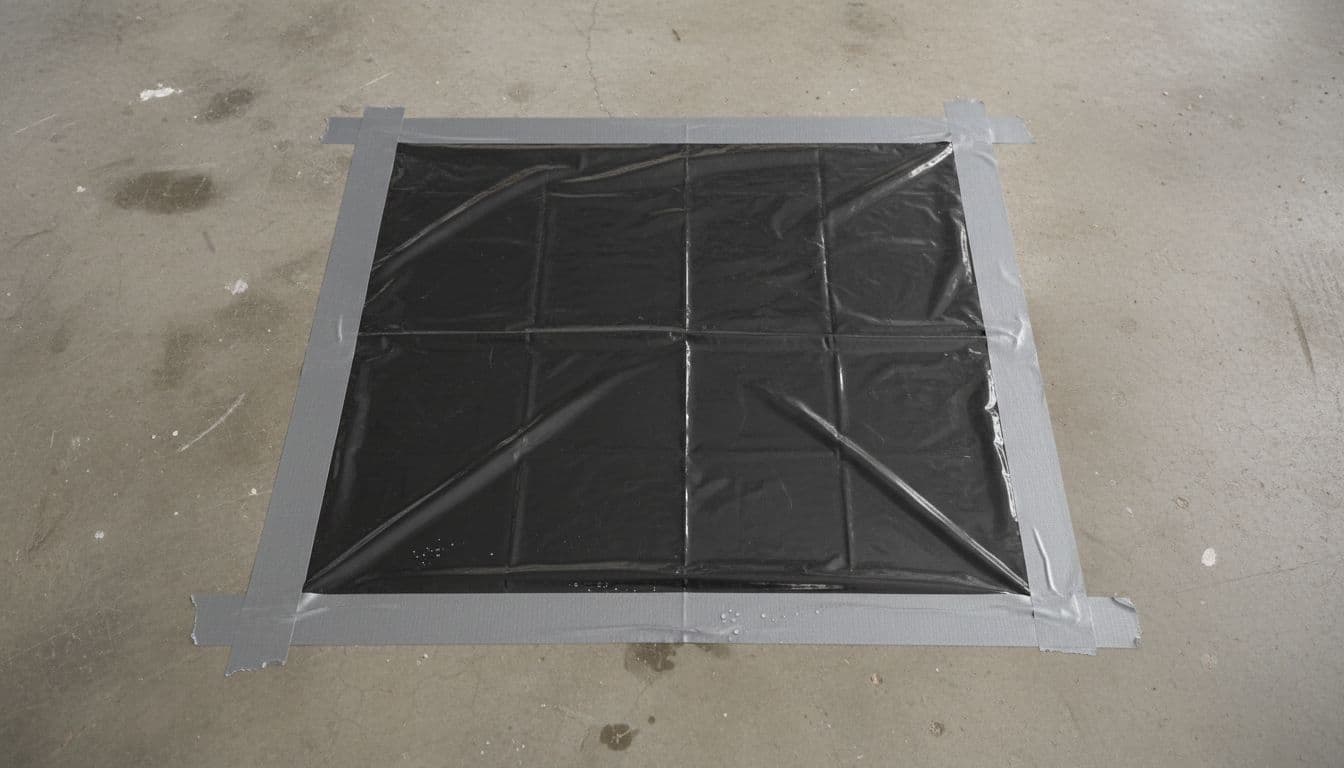
Moisture testing and final pass: the last checks before any garage coating
Moisture does not always show as standing water. Vapor can rise through the slab and push against the coating from below. That pressure can cause bubbles, hazing, and peeling in garage epoxy systems.
A simple moisture screen test helps catch obvious risk:
- Tape down a plastic sheet (about 2 feet by 2 feet) on clean, bare concrete.
- Seal all edges with tape so air cannot move under it.
- Leave it for 24 hours.
- Check for condensation under the plastic or darkening of the concrete.
If you see droplets or a darker patch, moisture is likely moving through the slab. That does not always mean “do not coat,” but it does mean you should choose a system that can handle it. In many cases, a moisture-mitigating primer becomes necessary.
After moisture screening, finish with a final readiness pass:
- Vacuum slowly and thoroughly, including corners and joints.
- Confirm the surface feels dry to the touch and looks uniform and matte.
- Mask walls, door tracks, and steps so you control edges.
- If you feel unsure, do a small adhesion test spot in an out-of-the-way area before the full garage coating install.
That last point saves projects. A small test area can reveal hidden sealer, lingering oil, or a weak top layer before you commit the whole floor.
Conclusion
A long-lasting garage floor follows a simple sequence: evaluate the slab, deep clean, repair damage, create the right profile, moisture test, then do a final dust-free clean. When you respect that order, garage epoxy and any garage coating system has a fair chance to bond and perform for years. If your slab has heavy oil, old sealer, moisture signs, or widespread cracking, professional prep is often the difference between a finish that lasts and one that peels at the first hot summer parking job. Prep is not the boring part, it is the part that holds everything together.
Comments are closed